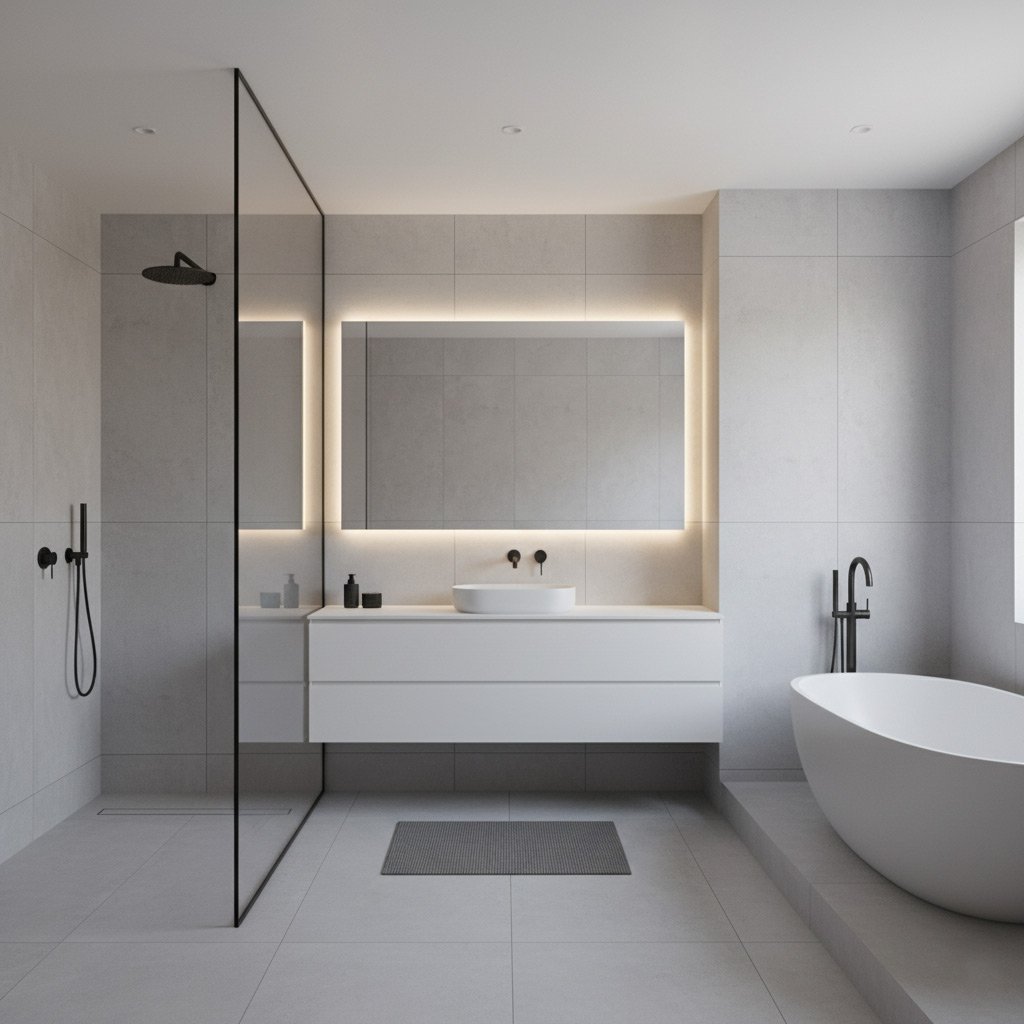
Imagine stepping into a sleek, glass‑enclosed shower that feels like a spa, right in your Glendale home. Your old bathtub? It’s about to become the thing you never miss.
A tub hogs space, traps heat, and makes cleaning a chore. Swap it for a shower and you’ll shave minutes off your morning routine while adding resale value.
Here in Glendale, the desert heat makes a quick, invigorating rinse a daily blessing, and the city’s building codes actually make the swap easier than you think. We’ve walked every permit office and know the shortcuts that keep your project on schedule.
Ready to see the step‑by‑step plan that turns a clunky tub into a modern shower masterpiece? Keep reading and we’ll walk you through every decision, material, and cost‑saving tip you need.
Assessing Your Space & Budget: Measuring, Layout, and Cost Estimates
Measure Twice, Cut Once
Grab a steel tape, a level, and jot down the exact width, length, and height of your current tub enclosure. Don’t trust the old blueprint—walls shift, fixtures move, and a half‑inch can ruin a shower pan later on. Write the numbers in both inches and centimeters; it saves a trip back to the hardware store.
While you’re at it, note the location of existing plumbing, vent stacks, and any low‑lying beams. A quick sketch with these details will become your project’s north star.
Designing a Functional Layout
Think about how you move in the bathroom. A shower door that swings into a cramped corner creates a traffic jam every morning. Aim for at least 30 inches of clear floor space in front of the shower entry.
Consider these layout tricks:
- Place the shower head opposite the main wall to maximize water coverage.
- Use a linear drain if you’re stretching the shower length; it reduces the need for a deep slope.
- Leave a 6‑inch gap between the shower wall and any vanity to prevent water splash.
Budget Blueprint
Glendale homeowners typically spend $4,500‑$9,000 for a full tub‑to‑shower conversion, but the final number hinges on three variables: materials, labor, and unforeseen issues.
Break down the costs like this:
- Shower base & walls: $1,200‑$2,500 (acrylic, tile, or stone).
- Plumbing reroute: $800‑$1,500, depending on distance to existing lines.
- Waterproofing & backer board: $600‑$1,000.
- Permits & inspections: $150‑$300 in Glendale.
- Contingency fund: 10‑15% of total for surprise drywall or code adjustments.
Set a realistic ceiling, then subtract the “nice‑to‑have” items. That way you’ll know exactly where you can splurge (like a rain‑head) and where you should hold back.
Navigating Glendale Building Codes & Permits for Tub‑to‑Shower Conversions
Before you swing a hammer, you need the city’s green light. Glendale’s codebook is surprisingly straightforward: a shower must meet minimum floor‑area, slope, and drainage requirements, and the work must be inspected at two key stages.
What the city expects
- Minimum shower floor area: 30 sq ft (or 2.8 sq m) to qualify as a “shower stall.”
- Floor slope: 1/4 inch per foot toward the drain – no shortcuts.
- Drain size: 2‑inch PVC or larger, with a trap that meets the International Plumbing Code.
- Ventilation: A fan rated for at least 50 CFM for every 100 sq ft of bathroom space.
Getting the paperwork done is quicker than most homeowners think. Submit a Permit Application for Plumbing Alterations to the Glendale Development Services Department, attach a simple floor‑plan sketch, and pay the $85 fee. The city will issue a temporary permit that lets you start demolition, but you’ll need a final inspection before you hang the glass doors.
Fast‑track tips from the field
Ask the permit clerk for the “Shower Conversion Checklist.” It’s a one‑page cheat sheet that lists exactly what the inspector will look for. Bring it to the job site, tick off each item as you go, and you’ll avoid the dreaded “re‑inspect” call.
Remember, the city loves clear documentation. A quick photo of the existing tub, a before‑and‑after layout, and a signed contractor’s affidavit can shave days off the approval timeline. Keep those files handy; the inspector will ask for them on the spot.
Choosing the Right Shower Base, Walls, and Drainage System
Shower Base Options
In Glendale you’ll want a base that handles desert heat without cracking. Acrylic pans are light, cheap, and snap into place in a day; tile‑on‑a‑board gives you that custom look but adds weight and labor.
- Acrylic or fiberglass – fast install, low cost.
- Prefabricated stone resin – looks like stone, resists warping.
- Custom tiled base – ultimate design freedom, higher price.
Wall Materials That Hold Up
Walls are the visual centerpiece, so pick something that stays cool and easy to clean. Full‑height ceramic tile is classic, while acrylic panels cut the job in half.
- Ceramic or porcelain tile – endless styles, durable.
- Acrylic wall panels – quick, seamless seams.
- Glass enclosures – modern, reflective, low maintenance.
- Stone veneer – natural look, needs sealing.
Drainage & Waterproofing Essentials
Good drainage stops water from pooling and protects your floor. A linear drain looks sleek, but a traditional center drain is foolproof.
- Linear (trench) drain – contemporary, easy to clean.
- Center floor drain – reliable, fits most layouts.
- Proper slope (1/4" per foot) – guarantees flow.
- Waterproof membrane – critical under tile, prevents leaks.
Selecting Materials & Finishes that Thrive in Arizona’s Climate
Glendale’s desert heat can turn a regular shower into a sauna if you pick the wrong tiles. Go for porcelain or ceramic that stays cool underfoot and won’t expand when the sun beats down. These options also resist the occasional sand that sneaks in from the yard.
Heat‑Resistant Tiles & Wall Panels
Look for tiles rated for high‑temperature environments. They keep their color, don’t crack, and stay slip‑free. A few smart picks:
- Large‑format porcelain – fewer grout lines, easier cleaning.
- Quarry stone – natural texture, excellent traction.
- Glass mosaic – adds sparkle without heating up.
When you choose a wall system, consider a water‑proof backer board instead of drywall. It handles moisture like a champ and won’t warp when the humidity spikes after a hot shower.
Sealants, Grout & Finishing Touches
Arizona’s dry climate can dry out grout, leading to cracks. Use an epoxy‑based grout that stays flexible and resists staining. Seal it with a penetrating sealer every 12 months to keep water out.
For trim and fixtures, stainless steel or brushed nickel survive the desert’s dust and heat better than chrome. They stay shiny, require less polishing, and match any design vibe.
Installation Process: Demolition, Plumbing Re‑routing, and Waterproofing
Step 1 – Demolition
First, strip the old tub down to the studs. Pull out the vanity, tile, and any surrounding drywall that’s been compromised.
Quick checklist:
- Turn off water at the main shut‑off.
- Wear a dust mask and safety goggles.
- Save any reusable fixtures for later use.
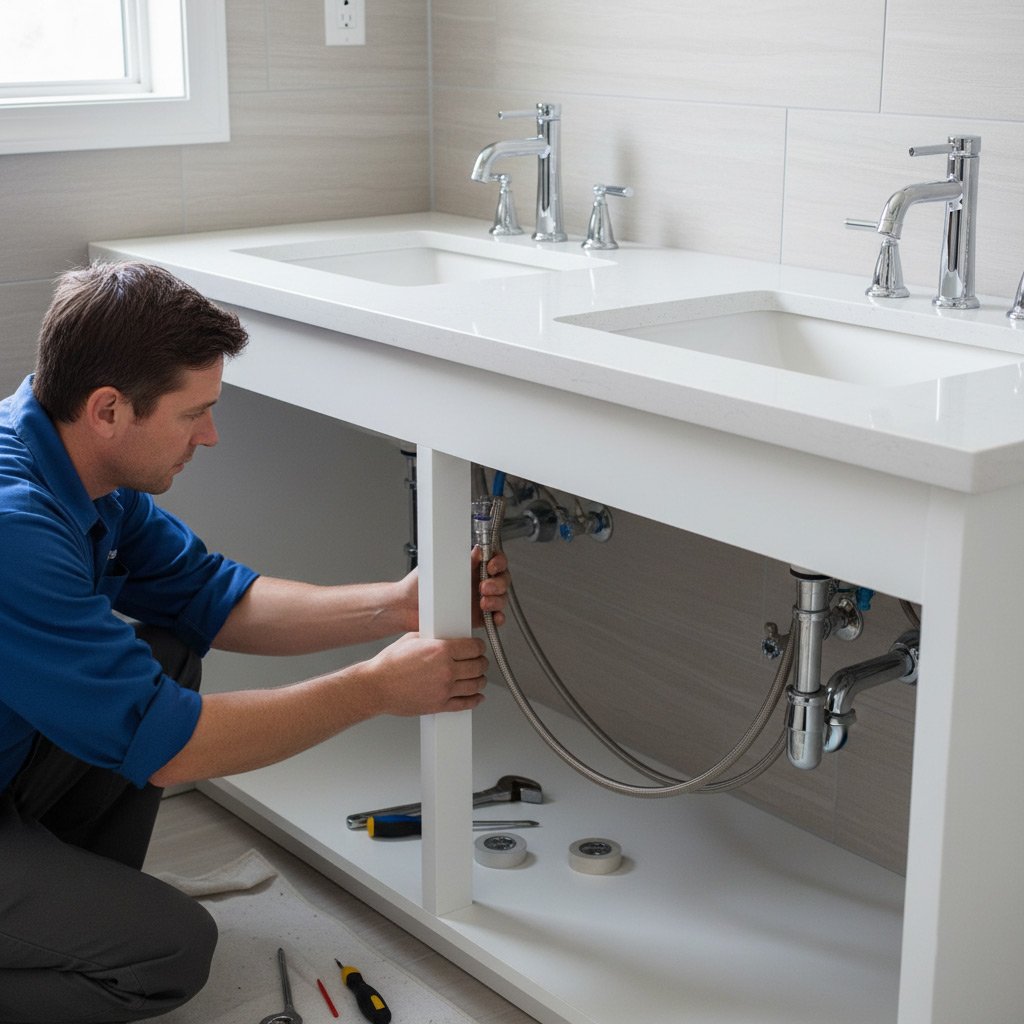
Step 2 – Plumbing Re‑routing
Glendale’s water pressure can be a beast, so you’ll want a clean, efficient layout. Relocate the drain to the new shower base and extend the supply lines to the new valve assembly.
Key moves:
- Install a curb‑cut for the new drain to prevent water pooling.
- Use PEX tubing for flexibility and corrosion resistance.
- Test every joint with a pressure gauge before moving on.
Step 3 – Waterproofing
Waterproofing is the safety net that keeps your remodel from becoming a leak nightmare. Apply a liquid membrane over the subfloor, then lay a waterproof backer board before tiling.
Don’t skip these steps:
- Seal all seams with a high‑quality tape.
- Run a drainage slope of at least 1/4 inch per foot toward the drain.
- Inspect the membrane for pinholes; a quick patch now saves a costly repair later.
Case Study: Transforming a 1970s Glendale Bathroom into a Spa‑Like Shower Retreat
Before the Swap
The original bathroom was a relic from the ’70s—think avocado‑green tiles, a cramped claw‑foot tub, and a single‑pane window that let the desert heat in. The layout forced a narrow walk‑around, and the old plumbing leaked at the slightest pressure. Homeowners felt stuck with a space that looked and felt dated.
The Makeover Process
Our crew tackled the project in three decisive phases, keeping the budget tight and the timeline short.
- Demolition: Removed the tub, tile, and outdated fixtures in under 24 hours.
- Plumbing re‑routing: Shifted the drain line 18 inches to accommodate a low‑profile linear shower base.
- Waterproofing: Applied a cementitious membrane and sealed every joint with a silicone that tolerates Glendale’s temperature swings.
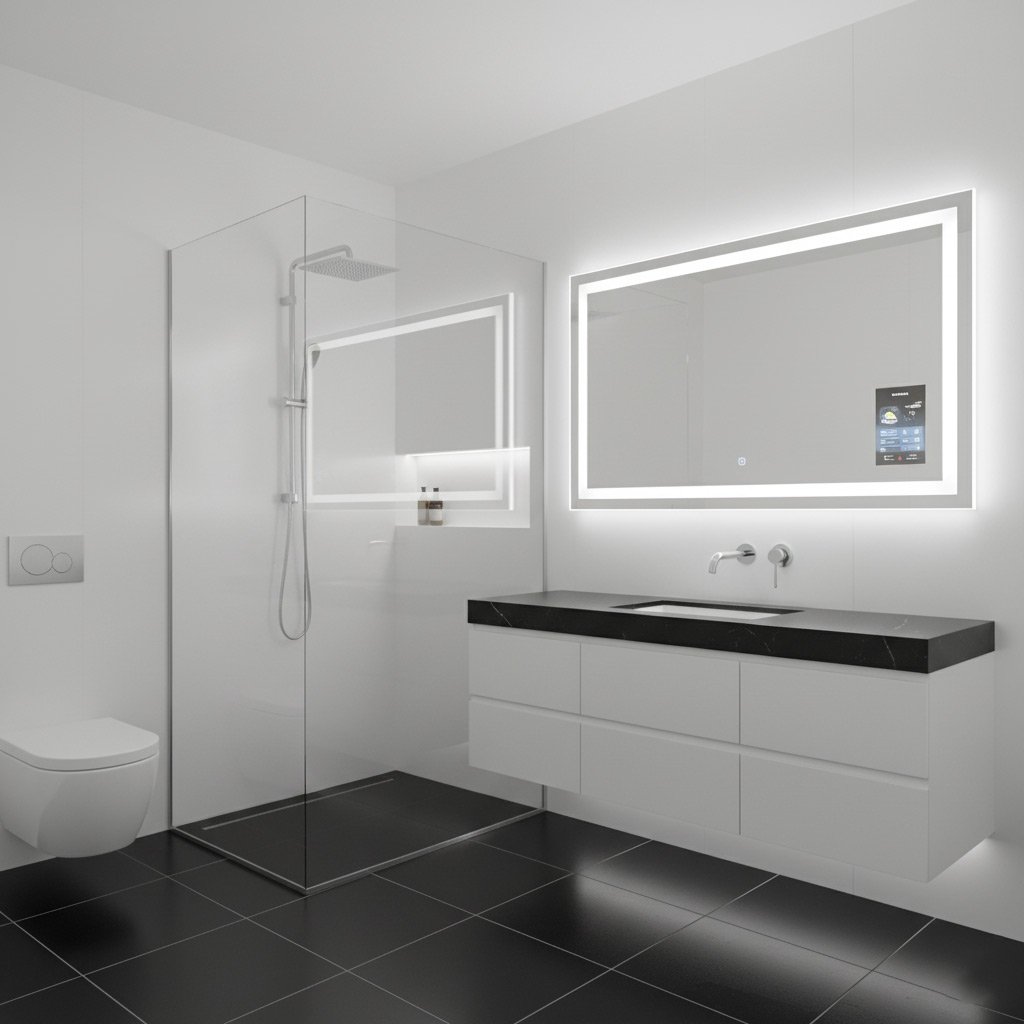
- Installed a frameless glass enclosure, a quartz bench, and a rain‑head shower valve that delivers a spa‑like experience.
Resulting Luxury
The finished bathroom feels like a boutique spa. The new shower uses 30 % less water, and the sleek glass walls make the room appear twice as large. Homeowners report a 15‑minute shave off their morning routine and rave about the resale boost.
- Modern aesthetic that matches any contemporary Glendale home.
- Low‑maintenance surfaces that survive the desert climate.
- Increased home value—appraisers noted a $12,000 uplift.
Final Words: Your Path to a Seamless Tub‑to‑Shower Upgrade
Lock in Your Timeline
Start by penciling the start date on your calendar and give yourself a 2‑week buffer for permits. When the paperwork’s in hand, the crew can move straight to demolition without waiting on the city.
Tip: Ask your contractor for a written schedule that flags each milestone—demo, plumbing, waterproofing, finish work. A clear roadmap keeps surprises at bay.
Budget Hacks That Stick
Break the total cost into three buckets: materials, labor, and contingency. Allocate 10‑15 % of the overall budget to “what‑if” items like unexpected wall repairs.
- Shop local tile outlets for bulk discounts.
- Consider prefabricated shower bases to shave $1,000‑$2,000 off custom pours.
- Reuse existing plumbing where possible; rerouting adds labor.
Keep the Momentum Going
After the shower is up, schedule a post‑install walkthrough. Verify that the drain slopes correctly, the sealant is flawless, and the shower door swings without binding.
Need a trusted partner who knows Glendale’s code quirks and desert‑ready finishes? Check out our Tub to Shower Conversions page and lock in a free on‑site estimate today.
People Also Ask
How much does a tub‑to‑shower conversion typically cost in Glendale, AZ?
Most conversions range from $4,000 to $9,000, depending on the size, materials, and any plumbing upgrades required. Labor and permit fees are the biggest variables in the final price.
Do I need a permit for a tub‑to‑shower conversion in Glendale?
Yes, Glendale requires a building permit for any bathroom remodel that involves plumbing or structural changes. Obtaining the permit ensures the work meets local codes and protects your home’s resale value.
What type of shower base is best for Arizona’s dry climate?
A low‑profile acrylic or stone‑resin base is ideal because it resists cracking from temperature fluctuations and is easy to clean. Look for a base with a built‑in slope for optimal drainage.
Can I keep my existing bathtub plumbing when converting to a shower?
In many cases, the existing drain and water supply can be reused, but the pipe layout often needs adjustment to meet shower code requirements. A professional plumber will assess whether re‑routing is necessary.
How long does a typical tub‑to‑shower conversion take?
The full process—from demolition to final waterproofing—usually takes 1 to 2 weeks, assuming no unexpected structural issues arise. Scheduling with a licensed contractor helps keep the timeline on track.
Glendale Bathroom Remodel specializes in comprehensive bathroom renovations, bringing over a decade of craftsmanship to homes throughout Glendale, Arizona. Their team combines local knowledge with industry‑leading techniques to deliver functional, stylish spaces that reflect each homeowner’s vision.
Need Bathroom Remodel?
Transform your bathroom in Glendale and surrounding AZ communities with precision craftsmanship and rapid project completion (85301, 85302, 85303, 85345, 85374). We deliver functional, modern spaces on schedule, minimizing disruption to your home.
Get Bathroom Quote