Picture this: you flip the switch, steam curls up, and a cascade of water greets you like a personal waterfall—no resort needed, just your own Glendale bathroom.
Homeowners are finally catching on that a modern shower isn’t a luxury; it’s the new baseline for comfort and resale value. With local suppliers offering sleek tiles, water‑saving fixtures, and smart controls, the perfect upgrade is closer than you think.
What you’ll get here is a no‑fluff, step‑by‑step roadmap that walks you through budgeting, design choices, permits, and the actual install—so you can avoid costly missteps and keep the project on schedule.
If you’re ready to stop dreaming and start building that spa‑like experience, keep reading and we’ll break down every move you need to make.
Budgeting Your New Shower: Cost Breakdown & Financing Options
Before you start picking tiles, think about the numbers that will actually hit your wallet. A realistic budget keeps the project from turning into a money‑draining nightmare and lets you focus on the features that matter most.
Cost Breakdown
- Shower base & enclosure: $800‑$2,500 – prefabricated units are cheaper, custom glass runs higher.
- Tile & grout: $5‑$15 per sq ft for ceramic, $12‑$30 for porcelain, $30+ for natural stone.
- Plumbing & fixtures: $600‑$2,200 – includes valves, showerheads, and any smart controls.
- Labor: $1,200‑$3,500 – depends on demolition complexity and finish work.
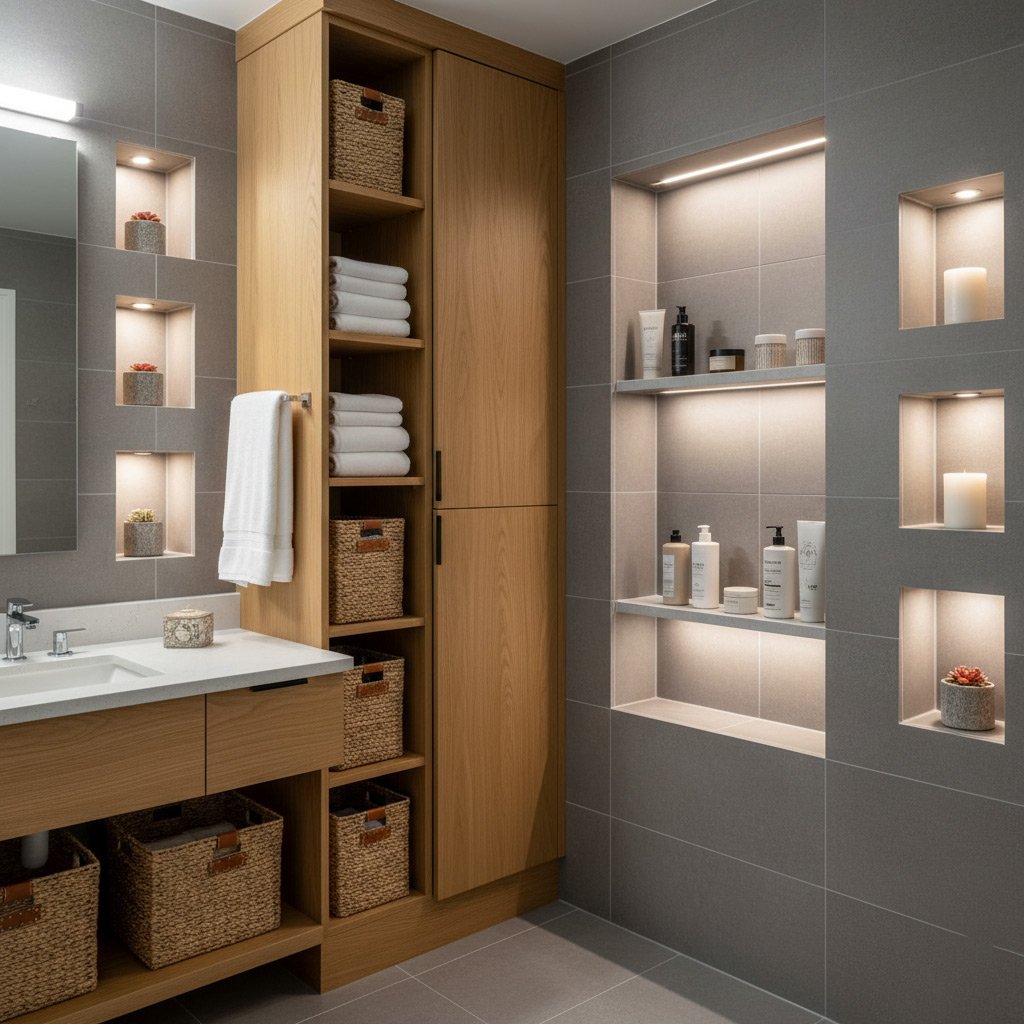
- Extras: $300‑$1,000 – niches, benches, lighting, or heated floors.
Adding a 10‑15% contingency is a smart move; unexpected issues like hidden water damage can pop up once the walls come down.
Financing Options
- Home equity line of credit (HELOC): Low interest, you only pay for what you draw.
- 0% APR credit cards: Good for short‑term projects if you can pay off quickly.
- Contractor financing: Many local remodelers partner with lenders for 12‑ or 24‑month plans.
- Personal loan: Fixed rate, predictable payments, but watch the fees.
Shop around, compare APRs, and read the fine print. The right financing can turn a $7,000 shower into a manageable monthly habit rather than a credit‑card shock.
Designing for Glendale: Layout, Tile Trends, and Smart Features
Layout Basics
Glendale homes often have modest bathroom footprints, so every inch counts. Think flow, not just function—place the shower where traffic naturally passes, and keep the door swing clear of the vanity.
Key layout moves:
- Center the shower wall to create a visual anchor.
- Use a linear drain for a sleek, low‑profile look.
- Leave at least 30″ of clear space for easy entry.
Tile Trends in Glendale
Local suppliers are pushing bold, sun‑kissed hues that echo the desert outside. Large-format porcelain reduces grout lines, making the space feel larger and easier to clean.
Trending choices you’ll love:
- Matte stone‑look tiles for a natural vibe.
- Geometric mosaics as a subtle accent strip.
- Water‑resistant, slip‑safe finishes for safety.
Smart Shower Features
Glendale’s tech‑savvy homeowners are adding gadgets that make a morning routine feel like a spa ritual. A digital thermostat lets you set the exact temperature before you step in.
Upgrade ideas:
- Voice‑controlled shower heads.
- LED mood lighting that syncs with music.
- Water‑saving flow regulators that still deliver power.
Navigating Permits & Local Building Codes in Glendale, AZ
Why Permits Matter in Glendale
Skipping the paperwork can turn a dream shower into a legal nightmare, especially when the city’s inspectors swing by. Every new shower that changes plumbing or adds a curb‑cut must be approved before the first tile goes down.
Getting the green light protects your investment, keeps resale value intact, and prevents costly re‑work down the line.
Where to File and What to Expect
Start at the Glendale Planning & Development Services office—online portal or in‑person, your call. The city typically asks for:
- Completed Permit Application form
- Detailed layout showing shower footprint, drain location, and any structural changes
- Plumbing schematics stamped by a licensed plumber
- Proof of contractor’s Arizona contractor’s license
After submission, expect a 7‑10 day review. If the plans meet the 2019 International Residential Code (IRC) adopted by Glendale, you’ll receive a permit number and a set of inspection dates.
Avoid Costly Surprises
Don’t assume “standard shower” means “no permit.” Even a simple walk‑in can trigger a building permit if you’re moving walls or adding a bench.
Watch out for these red flags:
- Missing or expired contractor license—city will reject the file.
- Improper slope on the shower pan—fails the drainage test.
- Using non‑approved waterproofing membranes—fails the water‑resistance inspection.
When in doubt, call Glendale’s Permit Center at (602) 933‑3000. A quick clarification now saves you weeks of delay later.
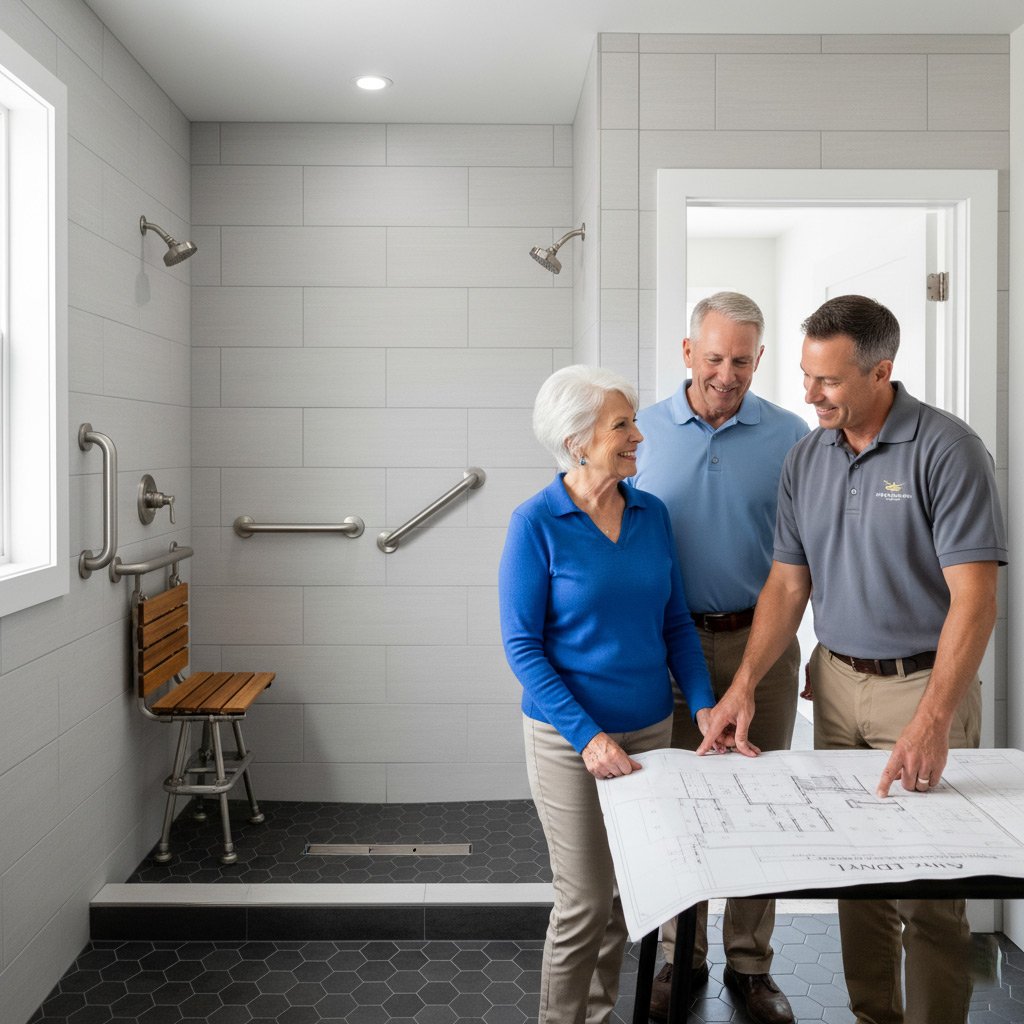
Selecting the Right Contractor: Questions to Ask & Red Flags
Key Questions to Fire
Before you sign a contract, fire these questions at every candidate. You’ll know instantly if they’re serious.
- How many walk‑in showers have you installed in the past 12 months?
- Can you provide a written, itemized estimate that separates labor, materials, and permits?
- Do you hold a current Arizona contractor’s license and workers’ comp insurance?
- What’s your projected timeline from demolition to final finish?
- Will you assign a single project manager to be my point of contact?
Tip: A contractor who hesitates on any of these answers is probably not the right fit.
Red Flags to Watch
Spotting a red flag early saves you headaches later. Keep an eye out for these tell‑tale signs.
- Vague or handwritten estimates that lack detail.
- Requests for large upfront cash payments before any work begins.
- Absence of a physical office address or local references.
- Reluctance to show proof of licensing or insurance.
- Promises of “same‑day” completion on a full shower remodel.
If any of these pop up, walk away. A reputable contractor will be transparent and willing to prove their credibility.
Next Move
Gather at least three quotes, compare the line items, and check each contractor’s online reviews and Better Business Bureau rating. Then schedule a face‑to‑face walkthrough of your bathroom. That’s where you’ll see if they truly get your vision.
Step‑by‑Step Installation Process: From Demolition to Final Finish
First thing’s first: rip out the old. Pull the curtain, unscrew the showerhead, and break the tile with a hammer‑and‑chisel combo. Don’t rush—you want a clean, flat surface, not a jagged mess that will bite you later.
Rough‑in Plumbing & Electrical
Once the debris is gone, the tradespeople lay the groundwork for water and power. This is where the magic starts, and a slip here can cost you thousands.
- Run new supply lines to the valve manifold—use PEX for flexibility.
- Install a dedicated 240‑V circuit for the digital controls and any heated elements.
- Pressure‑test every pipe before you seal the walls.
Tiling & Waterproofing
Now the walls get their armor. A solid waterproof membrane is the only thing that keeps leaks from becoming a homeowner’s nightmare.
- Apply a liquid‑applied membrane or a sheet system, overlapping seams by at least 2 in.
- Lay the backer board, then the tile—choose large‑format porcelain for fewer grout lines.
- Use a spacer grid to keep joints even, and seal with a high‑performance grout.
Installing Fixtures & Controls
With the tile set, it’s time to bring the shower to life. Smart controls are the new standard, so plan for a touch‑panel or voice‑activated valve.
- Mount the shower pan or base, ensuring it’s level to avoid water pooling.
- Attach the valve body, then connect the thermostatic or digital controller.
- Secure the showerhead, body jets, and any handheld units—tighten, but don’t strip the threads.
Final Finish & Inspection
The last walk‑through is where you turn the key and watch the water dance. A quick visual check catches any missed spots before the city inspector arrives.
- Caulk the corners with 100% silicone, smoothing it with a finger or tool.
- Run a full cycle: test temperature, flow, and any smart features.
- Schedule the final inspection, hand over the warranty paperwork, and enjoy the new shower.
Case Study: Transforming a Glendale Home with a Luxury Walk‑In Shower
The Challenge
When the Martinez family bought their 1998 ranch, the bathroom felt like a time capsule—cracked tile, a cramped tub, and a leaky shower that dripped like a faucet in a desert.
They wanted a spa‑like walk‑in shower that would boost resale value and give them a daily retreat, but the budget was tight and the existing plumbing was tucked behind a concrete wall.
- Outdated plumbing layout
- Limited floor space
- Desire for water‑saving fixtures
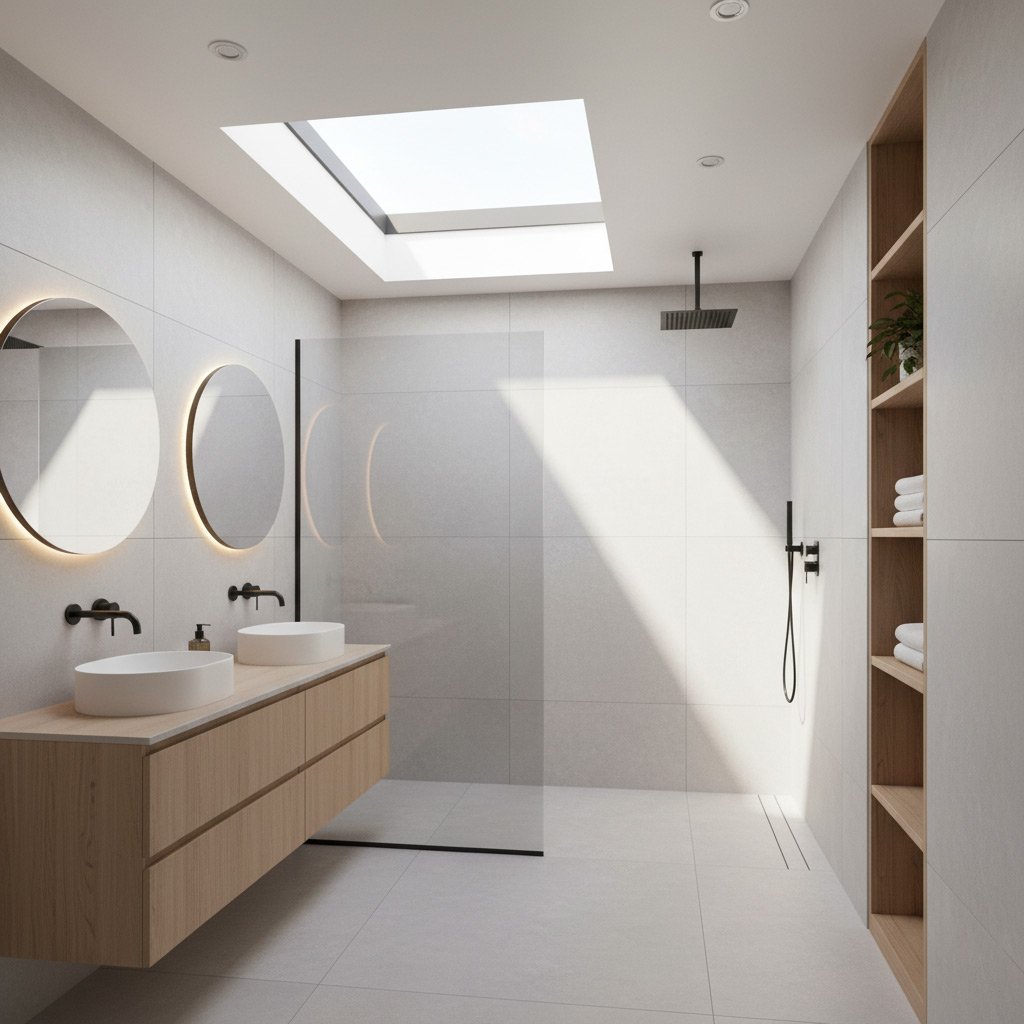
The Solution
We started by rerouting the supply lines to a new wall cavity, freeing up 3 ft² for a seamless glass enclosure. The design featured a linear rainhead, a handheld wand, and a built‑in bench for those long, lazy mornings.
Tile selection was key: a large‑format, matte porcelain in a soft dove gray created a clean canvas, while a narrow mosaic strip added a subtle visual cue that the shower was “bigger” than it really was.
- Smart controls for temperature lockout
- Low‑flow fixtures that saved 30% water
- LED accent lighting for a night‑time glow
Results
Installation wrapped up in just 10 days, and the final cost landed $2,200 under the original estimate thanks to bulk‑order tile discounts.
Post‑project appraisal added $12,000 to the home’s market value, and the Martinez family reports a 40% increase in daily bathroom satisfaction.
Final Words: Bringing Your Spa‑Like Shower Vision to Life
At this point you’ve got the numbers, the design, the permits, and a contractor you can trust. All that’s left is to turn the blueprint into a daily ritual that feels like a mini‑vacation. Commit to the schedule, keep the communication line open, and watch the transformation unfold.
Next Steps
- Confirm the final material list with your supplier – no surprises once demolition starts.
- Set a clear milestone calendar with your contractor; mark the demo, rough‑in, and finish dates.
- Schedule a walkthrough before the final punch‑list so you can catch any tweaks early.
When the last tile is set and the water pressure is perfect, you’ll know the effort paid off. A well‑executed shower not only boosts your home’s resale value, it becomes the centerpiece of your morning routine.
Stay Connected
If you’re still hungry for ideas or need a fresh perspective, explore more options in our New Showers section. Keep the momentum going, and let that spa‑like experience become your everyday reality.
People Also Ask
What is the average cost to install a new shower in Glendale, AZ?
The average cost ranges from $3,500 to $9,000, depending on materials, size, and custom features. Budget‑friendly options like prefabricated units start lower, while luxury walk‑in designs with premium tile can exceed $12,000.
Do I need a permit to replace my shower in Glendale?
Yes, most shower remodels require a building permit from the City of Glendale, especially if plumbing or structural changes are involved. Your contractor should handle the permit application and inspection process.
How long does a typical shower remodel take from demolition to finish?
A standard shower replacement usually takes 1 to 2 weeks, including demolition, plumbing adjustments, tile work, and final finishing. Complex projects with custom tile layouts or smart features may extend to 3 weeks.
What tile trends are popular for showers in Glendale homes?
Large-format porcelain, matte subway tiles, and natural stone-look mosaics are trending in 2024. Many homeowners also incorporate accent strips of patterned tile for a modern, spa‑like feel.
What questions should I ask a shower contractor before hiring?
Inquire about their licensing, insurance, and experience with local Glendale codes. Ask for a detailed written estimate, timeline, and references from recent shower projects.
Glendale Bathroom Remodel specializes in high‑quality bathroom renovations with over 15 years of experience serving homeowners in Glendale, Arizona. Their team blends skilled craftsmanship with a deep understanding of local design trends to create functional, stylish spaces. Committed to personalized service, they work closely with each client to bring their vision
Need Bathroom Remodel?
Transform your bathroom in Glendale and surrounding AZ communities with precision craftsmanship and rapid project completion (85301, 85302, 85303, 85345, 85374). We deliver functional, modern spaces on schedule, minimizing disruption to your home.
Get Bathroom Quote